 Click to Enlarge
The Art Kit
Photography, Pointilism, Pop-Art, and Printing
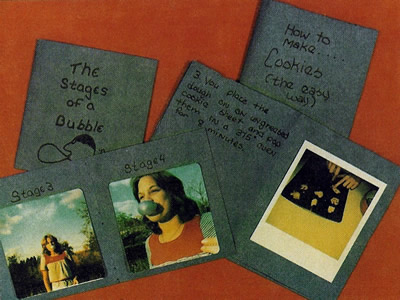
1. PHOTOGRAPHY
Materials: Photography equipment Construction paper Rubber cement
Process: Take pictures of a chosen subject (trees, flowers, card, etc.)
or
Photograph a step by step event.
Click to Enlarge
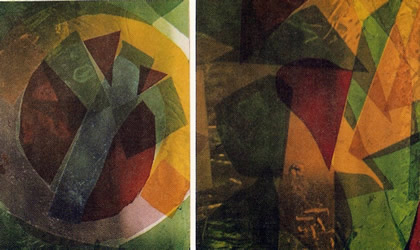
2. PHOTOGRAPHY (Slides)
Materials: Glass
Colored gel paper India Ink
Rubber cement Slide projector Screen
Process: Use two pieces of glass the size of a slide — Cut the gel to
desired shapes — Glue to glass — Add India ink line — Glue
two glass pieces together — Project on screen.
 Click to Enlarge
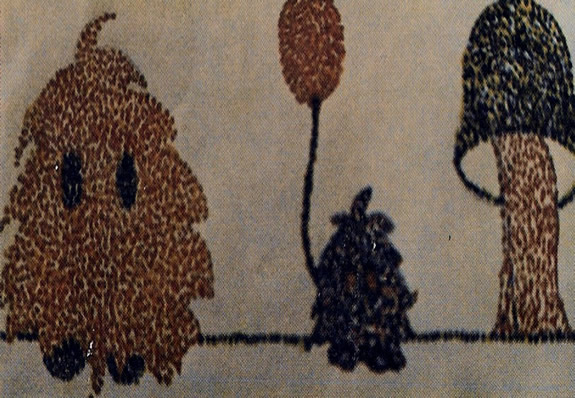
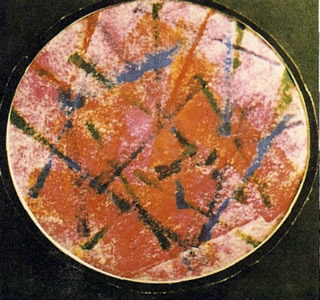
3. POINTILLISM
Materials: Felt tip pens Process: Draw complete picture with dots
Small square of using only the primary colors
white card stock (red, blue, yellow) — Secondary
or colors are seen when the eye
White paper mixes the primary colors which
have been placed close together.
 Click to Enlarge
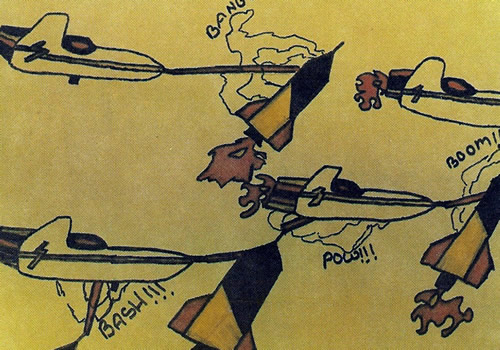
4. POP-ART Process: Follow cartoon methods in drawing — add words which
make the sounds of the picture —
Materials: Felt tip pens Follow Andy Warhol or Roy
White paper Lichtenstein's style.
 Click to Enlarge
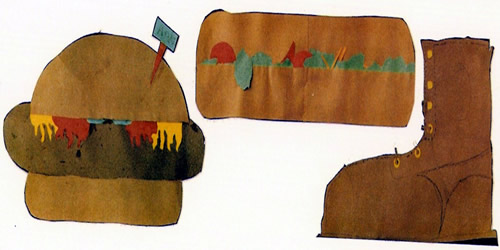
5. POP ART
Materials: Glue
Construction paper Scissor
Process; Make the everyday items larger than life using Andy Warhol's style.
 Click
to Enlarge
Click
to Enlarge
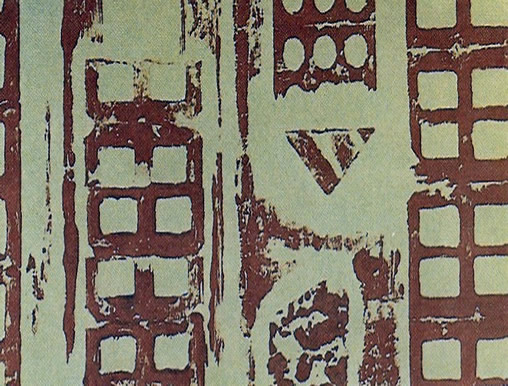
6. PRINTING
Materials: Printing ink Printing materials
Process: Print on:
Art tissue Magazine ad Newspaper
Print with:
Brayer
Card edge String
 Click to Enlarge
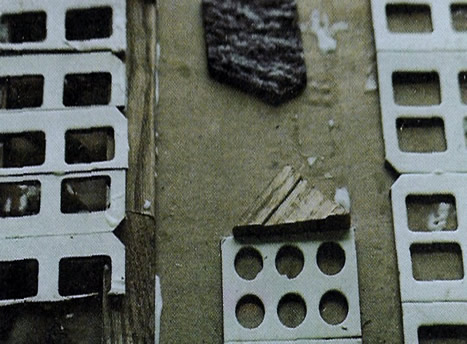
7. PRINTING (Assemblage)
Materials: Printing ink
Brayer
Glass for ink
Found objects
Paper & cardboard Glue
Process: Glue objects to cardboard — Roll ink on glued design —
Place paper on design — Rub with fingers — Remove print —
Let dry.
 Click to Enlarge
8. Roll ink out on glass or formica — Roll ink on design — Place
paper on design and rub with fingers — Remove print — Allow to dry.
PRINTING (Christmas cards)
Materials: Printing ink Construction paper
Brayers Manila paper Linoleum block Pencil
Glass for ink
Process: Cut manila paper to fit block size — Draw design on paper —
Tape design face down on block and rub very hard with pencil lead — Remove
paper — Design will be in reverse — Carve design with lineoleum
carvers —
 Click
to Enlarge
Click
to Enlarge
Virtual Homeschool International